When it comes to giving your interior a touch of sophistication and warmth, knowing how to install wall paneling can make all the difference. At Garaza Design, we value the art of creating beautiful and functional spaces that reflect your style. Whether you’re updating a single room or giving your entire home a refresh, wall paneling offers a timeless way to add character and depth to any space. Let’s walk through the process together so you can confidently bring your design vision to life.
Understanding Wall Paneling
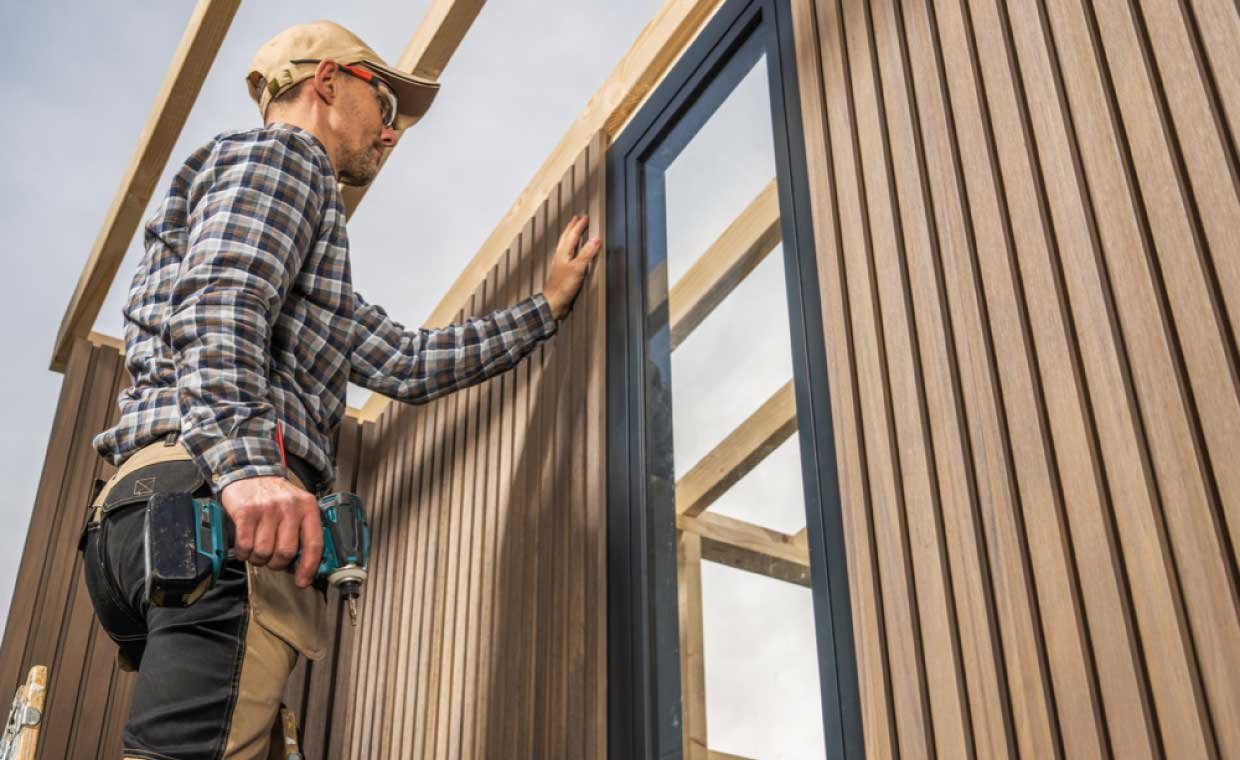
Wall paneling is more than just decorative covering, it’s a practical and aesthetic design solution. It helps protect walls, conceal imperfections, and adds texture and dimension to interiors. From traditional wood panels to modern PVC or MDF options, wall paneling can fit virtually any design theme, whether rustic, contemporary, or minimalist.
Before starting the installation, it’s essential to decide what kind of paneling best suits your home’s style. Some popular options include:
- Shiplap: Known for its horizontal boards and clean lines, perfect for modern farmhouse designs.
- Beadboard: Features narrow vertical planks that bring a classic and cozy look, often used in bathrooms or kitchens.
- Raised or flat panels: Offer a more traditional aesthetic, great for formal dining or living areas.
- Textured or 3D panels: Add visual depth and make a bold statement for accent walls.
Each material and style has its own charm, and selecting the right one depends on your desired finish, budget, and the environment of the space.
Preparing for the Installation
Preparation is key to ensuring that the installation process goes smoothly. Here’s how to get started:
- Measure the Walls
Begin by accurately measuring the height and width of your walls. This helps you determine how many panels you’ll need. Always purchase a little extra material to account for mistakes or trimming adjustments. - Gather Tools and Materials
You’ll need the following:- Wall panels of your choice
- Measuring tape
- Level
- Stud finder
- Saw (hand saw or power saw)
- Nails or construction adhesive
- Caulking gun and filler
- Paint or finish (if applicable)
- Wall panels of your choice
- Inspect and Prepare the Wall Surface
Ensure your walls are clean, dry, and smooth. Remove any nails, screws, or existing wall décor. For uneven walls, consider applying a thin layer of plaster or sanding them down for a smoother base. - Locate Wall Studs
Use a stud finder to mark the locations of studs. These are important anchor points that provide stability for your panels, especially if you’re installing heavier materials like solid wood.
Installing the Wall Paneling
Now comes the most rewarding part, putting everything together.
- Plan Your Layout
It’s a good idea to do a “dry fit” before applying adhesive or nails. Lay out your panels on the floor or hold them against the wall to see how they align. This helps you visualize how seams and patterns will appear once installed. - Cut Panels to Size
Use a saw to cut panels according to your wall’s dimensions. Always double-check measurements before cutting. For outlets or switches, trace and cut out precise openings so the panels fit neatly around them. - Apply Adhesive or Nails
For lighter materials like MDF or PVC, a strong construction adhesive works well. Apply the adhesive in a zigzag pattern on the back of the panel and press it firmly onto the wall. If you’re using nails, drive them into the studs to ensure a secure hold. - Level and Align Each Panel
Use a level to ensure each panel is straight before securing it permanently. Even a small misalignment can affect the final appearance. Work your way from one corner of the wall to the other for a clean, consistent finish. - Fill Gaps and Joints
Once the panels are in place, fill any visible gaps or nail holes with caulk or wood filler. Smooth the filler with a putty knife and let it dry before sanding lightly for a seamless surface. - Finishing Touches
If your panels are unfinished, you can paint or stain them to match your desired look. Applying a coat of sealant helps protect the material and makes cleaning easier, especially in high-traffic areas.
Tips for a Professional Finish
Even with DIY installation, you can achieve a polished, professional look by keeping a few simple practices in mind:
- Work in natural light so you can easily spot any misalignments or uneven cuts.
- Start from a corner and move outward to maintain symmetry.
- Use painter’s tape along the edges if you plan to paint, ensuring crisp, clean lines.
- Leave space for expansion if you’re installing wood panels, as they can expand or contract slightly with humidity.
- Check alignment frequently with your level or straight edge, especially when dealing with long walls.
These small steps can make a noticeable difference in how refined your wall paneling appears once complete.
Benefits of Installing Wall Paneling
Wall paneling isn’t just about aesthetics, it brings multiple practical benefits to your home.
- Durability: Wall panels protect underlying surfaces from scratches, dents, and moisture, extending the lifespan of your walls.
- Insulation and Soundproofing: Depending on the material, panels can improve energy efficiency and reduce noise.
- Low Maintenance: Most modern panels are easy to clean and resistant to wear, making them ideal for busy households.
- Versatility: Whether you prefer a sleek modern style or a rustic charm, there’s a panel design to complement your interior perfectly.
Adding wall paneling can completely redefine how a room feels, making it warmer, more structured, and visually balanced.
Common Mistakes to Avoid
While the installation process may seem simple, overlooking certain steps can affect the final outcome. Here are a few mistakes to avoid:
- Skipping wall preparation – Panels won’t adhere properly to dirty or uneven surfaces.
- Incorrect measurements – Always measure twice before cutting.
- Ignoring alignment – Misaligned panels can throw off the symmetry of your design.
- Using the wrong adhesive – Ensure the product you use matches the panel material.
- Neglecting finishing touches – Filling gaps, sanding, and sealing make a big difference in the final presentation.
By being patient and precise, you can achieve a beautiful installation that lasts for years.
Maintaining Your Wall Panels
Once installed, wall panels are fairly easy to maintain. Regular dusting or wiping with a damp cloth keeps them looking fresh. Avoid using harsh chemicals, especially on wood or painted finishes. For minor scratches, touch-up paint or wood filler can easily restore the surface.
If your panels are in areas with high humidity, like kitchens or bathrooms, periodically check for signs of moisture or separation at seams. Keeping the area well-ventilated helps maintain the integrity of the material.
Bringing Your Vision to Life
Installing wall paneling can be one of the most satisfying home improvement projects. It adds style, protection, and personality to any room, giving you results that feel both cozy and elegant. At Garaza Design, we’re passionate about helping you create spaces that reflect who you are and what you love. Our team is dedicated to providing innovative design solutions and quality materials that meet your expectations.
If you’ve been thinking about refreshing your home’s interior, now’s the perfect time to start. With the right materials, tools, and guidance, learning how to install wall paneling can turn your vision into a reality that lasts for years. Visit Garaza Design to discover how we can help you design spaces that feel truly your own.